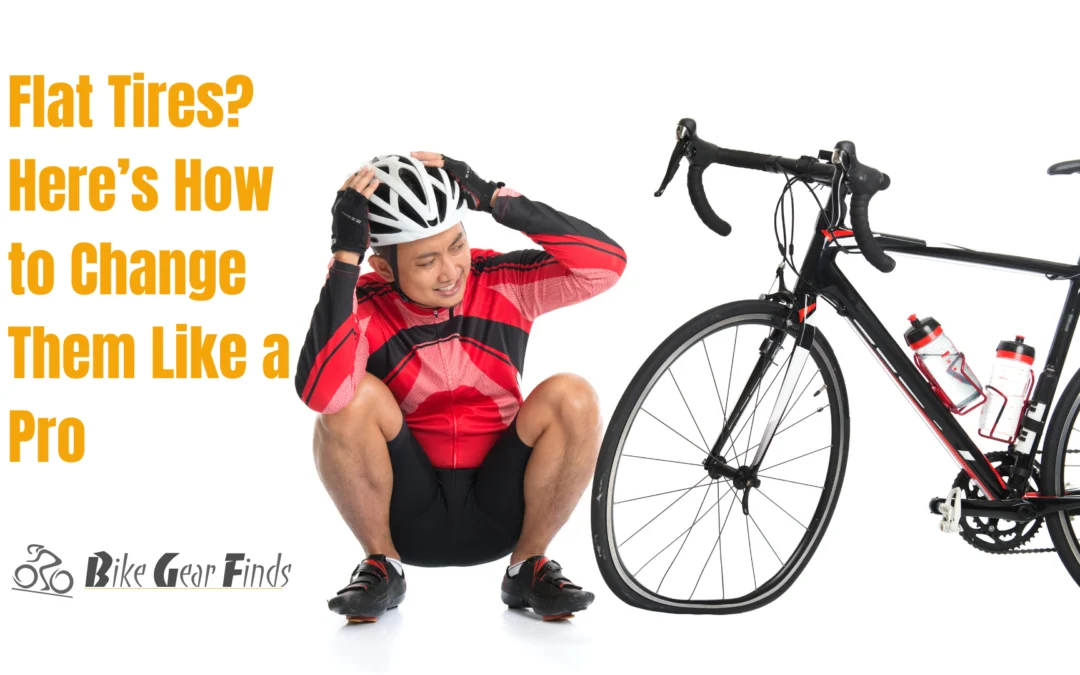
Understanding Flat Tires
Flat tires are a common issue faced by cyclists and understanding their causes is crucial for effective bike tire puncture fix. The most prevalent reason for a flat tire is puncture damage, typically caused by sharp objects such as glass, nails, or thorns. These punctures can occur unexpectedly during rides, making it essential for cyclists to be prepared with the best way to repair a flat bike tire. Another common cause of flat tires is slow leaks, which may result from degradation of the tire material or improper installation. This often requires keen attention to detect, as the change in tire pressure can be gradual.
In addition to punctures and leaks, damage to the valve stem can also result in flat tires. A compromised valve stem can cause air to escape, leading to a tire that quickly loses pressure. Regular maintenance is critical; checking the tire pressure and inspecting for visible damage can help to prevent these issues. There are various signs indicating that a tire may be losing air pressure, such as an unusual drop in handling or a ‘squishy’ feeling while riding, providing valuable hints for cyclists to act before a complete flat occurs.
Cyclists also benefit from understanding different types of tires, including road and mountain bike tires, as they serve distinct functions and are subject to different types of wear. For instance, road tires are typically thinner and more prone to punctures, while mountain bike tires are designed to handle rough terrains but can still suffer from flats. Identifying the right type of tire for your cycling activity, along with using top-rated bike tire repair kits, can significantly enhance one’s preparedness for unexpected issues. Maintaining optimal tire care practices not only prolongs tire lifespan but also improves overall riding experience.
Essential Tools for Changing a Flat Tire
When it comes to fixing a flat bike tire, having the right tools at your disposal is crucial for a smooth and efficient tire puncture fix. Below is a detailed list of essential tools that every cyclist should keep on hand to execute the best way to repair a flat bike tire and ensure that they are ready for any tire emergencies.
First and foremost, a bike tire repair kit is an indispensable asset. This kit typically includes tire patches, adhesive, and tire levers. When learning how to change a bike tire step by step, you will find that using tire levers can help pry the tire off the rim without damaging it. Additionally, the patches offer a quick tire patch solution to address small punctures, allowing you to get back on the road quickly.
A tire pressure gauge is also vital, as maintaining proper tire pressure can greatly help in preventing flat tires. It is advisable to check your bike tire pressure regularly and adjust according to the manufacturer’s specifications, which can help avoid unnecessary flats during your rides.
Moreover, a hand pump or CO2 inflator should be part of your toolkit. These devices offer a method to properly inflate your bike’s inner tube after a repair. Consider using best bike inner tubes on Amazon for added reliability, as they are designed to withstand punctures.
Lastly, a multi-tool that includes wrenches and other functions can be a lifesaver in situations where more extensive repairs are needed. It’s also wise to keep your essential tools organized and readily accessible in your vehicle or bike bag, ensuring that you are well-prepared for whatever journey lies ahead.
By assembling this must-have arsenal of tools, you’re setting yourself up to tackle any flat tire issues with confidence and efficiency.
Step-by-Step Guide to Changing a Flat Tire
Changing a flat tire can seem daunting, but with a structured approach, it can be accomplished easily. First and foremost, ensure that you are in a safe location, ideally on a level surface. Engage the parking brake to prevent the vehicle from rolling. It is advisable to have your hazard lights on to alert other drivers.
The first step in the process is to remove any hubcap or wheel cover, as this can obstruct access to the lug nuts. Once the hubcap has been removed, use a lug wrench to slightly loosen each lug nut; do not remove them completely yet. Loosening the lug nuts while the tire is still on the ground provides stability and makes the task easier.
Next, obtain your jack and position it under the vehicle’s designated lift point, which can usually be found in your owner’s manual. Once the jack is securely placed, begin lifting the vehicle until the flat tire is off the ground. This is a critical stage, so ensure the jack is stable throughout the process.
With the vehicle elevated, fully remove the previously loosened lug nuts and take off the flat tire. It is now time for the bike tire puncture fix if you have one, or to replace it with a new tire. Align the new tire with the wheel bolts and push it onto the hub, ensuring it is positioned correctly.
Replace the lug nuts, hand-tightening them in a crisscross pattern to ensure an even fit. Once all the lug nuts are on, lower the vehicle back to the ground. After the vehicle is stable, use the lug wrench to tighten the lug nuts fully, ensuring they are secured as per the manufacturer’s specifications. Finally, if applicable, replace the hubcap, and you are good to go!
This easy step-by-step guide to fixing a flat bike tire simplifies the repair process, ensuring that you can handle any unexpected flat tires, whether on a road bike or mountain bike, with confidence. Proper preparation and knowledge of the best tire patch kits will further enhance this skill.
Post-Change Tips and Prevention Strategies
After successfully executing a bike tire puncture fix, it is crucial to follow some post-change tips to ensure your tire functions optimally. First, check the tire pressure using a reliable gauge. Maintaining the correct bike tire pressure is vital, as under-inflated tires can increase the risk of further issues, while over-inflation can lead to blowouts. If you are unsure about the optimal pressure, consult the specifications provided on the tire sidewall or the manufacturer’s guidelines.
Once you have confirmed the pressure is adequate, ensure that the tire is securely attached to the rim and the bike frame. Inspect the brake assembly and spokes to confirm that everything is aligned correctly, ensuring safe riding conditions. Regular inspections after changing tires not only enhance safety but also help identify any emerging issues early on.
To prevent future flat tires, consider several practical strategies. Regularly examine your tire treads for signs of wear or damage; this can give you early warning signs of potential issues. Additionally, maintaining your bike tire pressure is essential—a simple tire pressure guide can assist you in avoiding unnecessary flats. When planning long rides, take into account the road conditions; rough or debris-strewn paths can increase the likelihood of punctures. Carrying quick tire patch solutions or a top-rated bike tire repair kit can prepare you for unexpected issues.
It is also advisable to familiarize yourself with your bike’s maintenance manual. This often contains tailored advice on tire care and specifications. Lastly, investing in the best bike inner tubes on Amazon can offer you peace of mind, as quality materials tend to be more resilient against punctures. By applying these post-change tips and prevention strategies, you will enhance your biking experience and minimize the chances of dealing with flat tires in the future.